
#linux #terminal #vim #neovim #lazyvim #coding #ide
Neovim is a modern, powerful, and highly customizable text editor. It offers a familiar experience for Vim users while introducing improvements and features for a smoother workflow. Neovim is a fork of Vim, aiming to provide a better user experience and a more modern codebase. This allows for easier plugin development and integration withexternal tools. While it retains the core functionality of Vim, Neovim offers several advantages:
Improved Stability: The codebase has been refactored for better stability and performance. Enhanced Plugin System: Neovim boasts a more user-friendly plugin system, making it easier to extend its functionality. Modern Features: It supports features like asynchronous operations and better integration with other applications. Install on macOS with the following command:
brew install neovim
For other OS’s refer to the documentation:Install neoVIM
Why Neovim instead of Vim?
Neovim is a fork of the Vim repository, created by the community to incorporate features that were being rejected by Vim’s creator, the late Bram Moolenaar. These rejected features include async support for plugins and other extensions.
Neovim was created by the Vim community as a more open alternative, where new features would be added and maintained by the community more democratically while still honoring Vim’s core features – this is something I can back!
Additionally, the community put in a lot of effort to create extensive and high-quality documentation, making Neovim more user-friendly for newcomers and providing native Lua support for plugin development. In my spare time, I dabble in a little bit of game development, so having some familiarity with Lua might come in handy someday, and this was a huge plus for me.
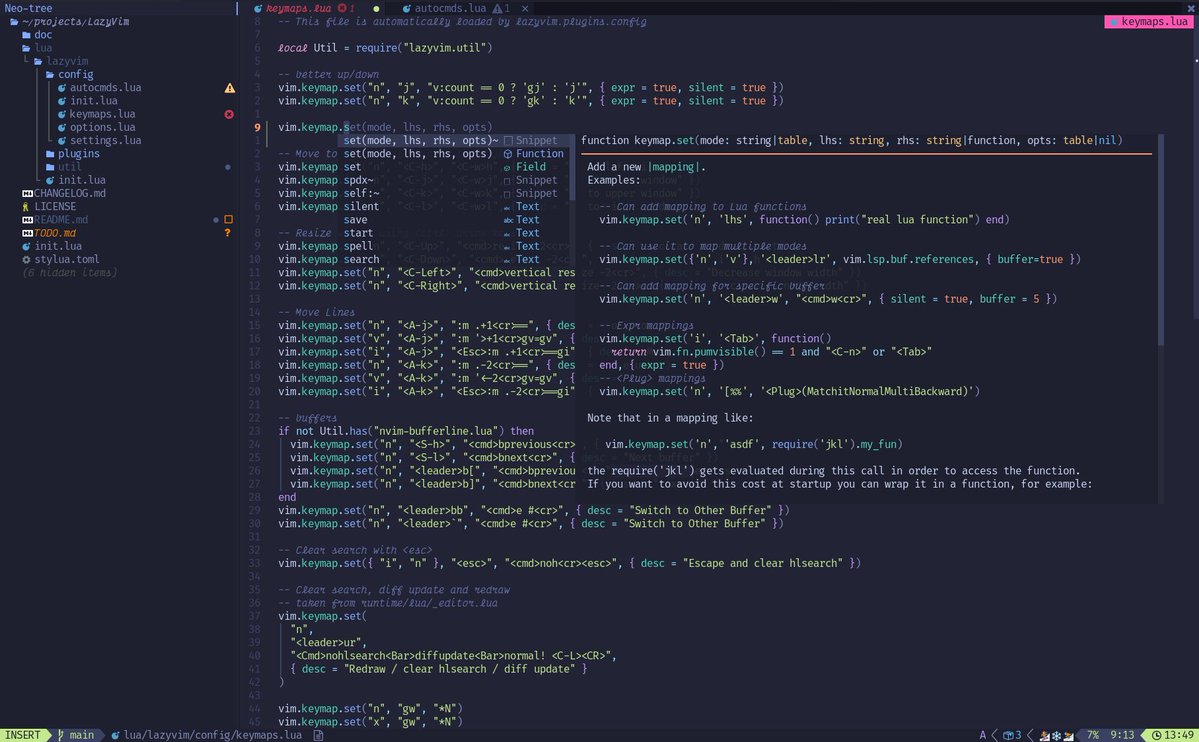
LazyVIM 🛠️
LazyVim is a lightweight Neovim configuration that offers the sweet spot between a flexible configuration and a premade neovim distribution.
✨ Features
🔥 Transform your Neovim into a full-fledged IDE
💤 Easily customize and extend your config with
🚀 Blazingly fast
🧹 Sane default settings for options, autocmds, and keymaps
📦 Comes with a wealth of plugins pre-configured and ready to use
⚡️ Requirements
Neovim >= 0.9.0 (needs to be built with LuaJIT)
Git >= 2.19.0 (for partial clones support)
(v3.0 or greater) (optional, but needed to display some icons)a
(optional)
a C compiler for nvim-treesitter. See
(completion engine)curl for
for
(optional)fzf:
(v0.25.1 or greater) live grep:
find files:
(Macos)a terminal that support true color and undercurl:
(Linux & Macos)
(Linux, Macos & Windows)
(Linux, Macos & Windows)
Installation:
Make a backup of your current Neovim files:
# required
mv ~/.config/nvim{,.bak}

# optional but recommended
mv ~/.local/share/nvim{,.bak}
mv ~/.local/state/nvim{,.bak}
mv ~/.cache/nvim{,.bak}
Clone the starter:
git clone https://github.com/LazyVim/starter ~/.config/nvim
Remove the .git folder, so you can add it to your own repo later:
rm -rf ~/.config/nvim/.git
Start Neovim!
nvim
Why LazyVim?
First, I checked out Folke’s dotfiles and discovered that he uses LazyVim. I then tried it and loved it.
I chose LazyVim over other community setups because it allows for flexible addition and disabling of plugins in your config folder. Naturally, you can also change the theme.
You can quickly check for updates and easily keep LazyVim and plugins up-to-date. Press Space L and U to update the plugins.
It comes pre-installed with popular plugins maintained by the community. Relying on them saves you time that might be spent fixing broken configs.
To sum it up:
I believe that even for a relatively new Vim or Neovim user, starting with LazyVim is not overly complicated. What I appreciate about it is that almost all the plugins I need are already integrated with LazyVim. This means I don’t have to worry about compatibility with the latest Neovim version; LazyVim takes care of that for me. All I need to do is store my customized settings on GitHub, pull them back when upgrading or setting up a new PC, and everything just works.
As for the cons, if you are an extensive NeoVim user with around 100 plugins or many specific setups, you will still need to incorporate a significant portion of your configurations. In this case, you might want to explore LunarVim, which offers a more comprehensive setup compared to LazyVim, as suggested by its name.
Overall, I am quite satisfied with tools that work out of the box and meet 90% of my needs. Feel free to explore LazyVim!