Securely exposing a self-hosted application using Cloudflare Zero Trust
Many thanks to and Cloudflare for offering an enterprise service for free, helping to build a better, more secure internet. In this walkthrough, I will explain how to publicly expose a self-hosted application without port forwarding. I’ll be using Cloudflare’s Zero Trust service to securely expose a @QNAP_nas.
https://developers.cloudflare.com/cloudflare-one/
Create the tunnel
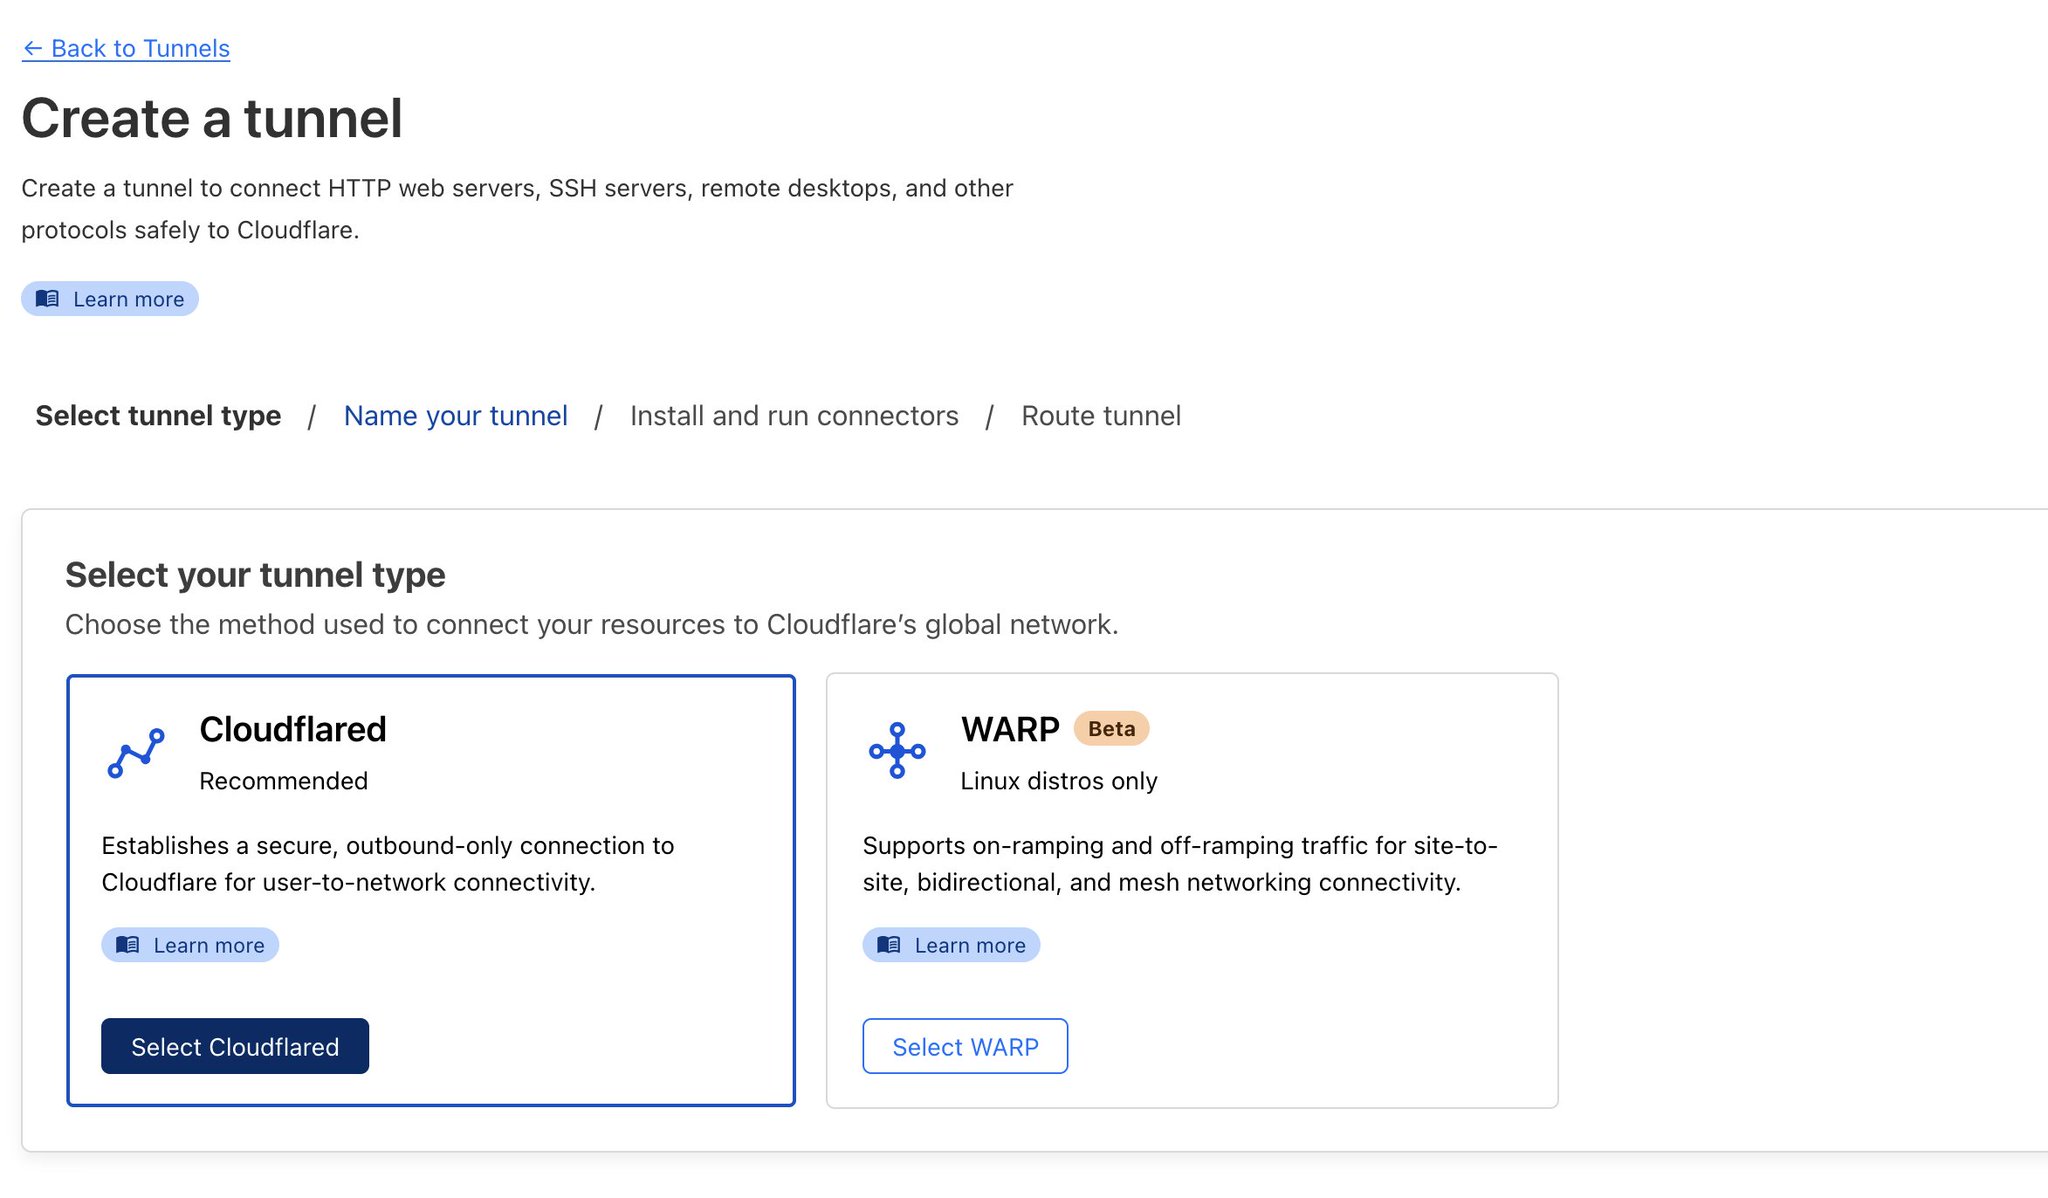
Add your domain name and point it to the internal IP address on winch your service that you want to securely expose is running. An internal port of the service can also be specified.

For this scenario, Docker will be used to deploy the container using Container Station within QNAP.
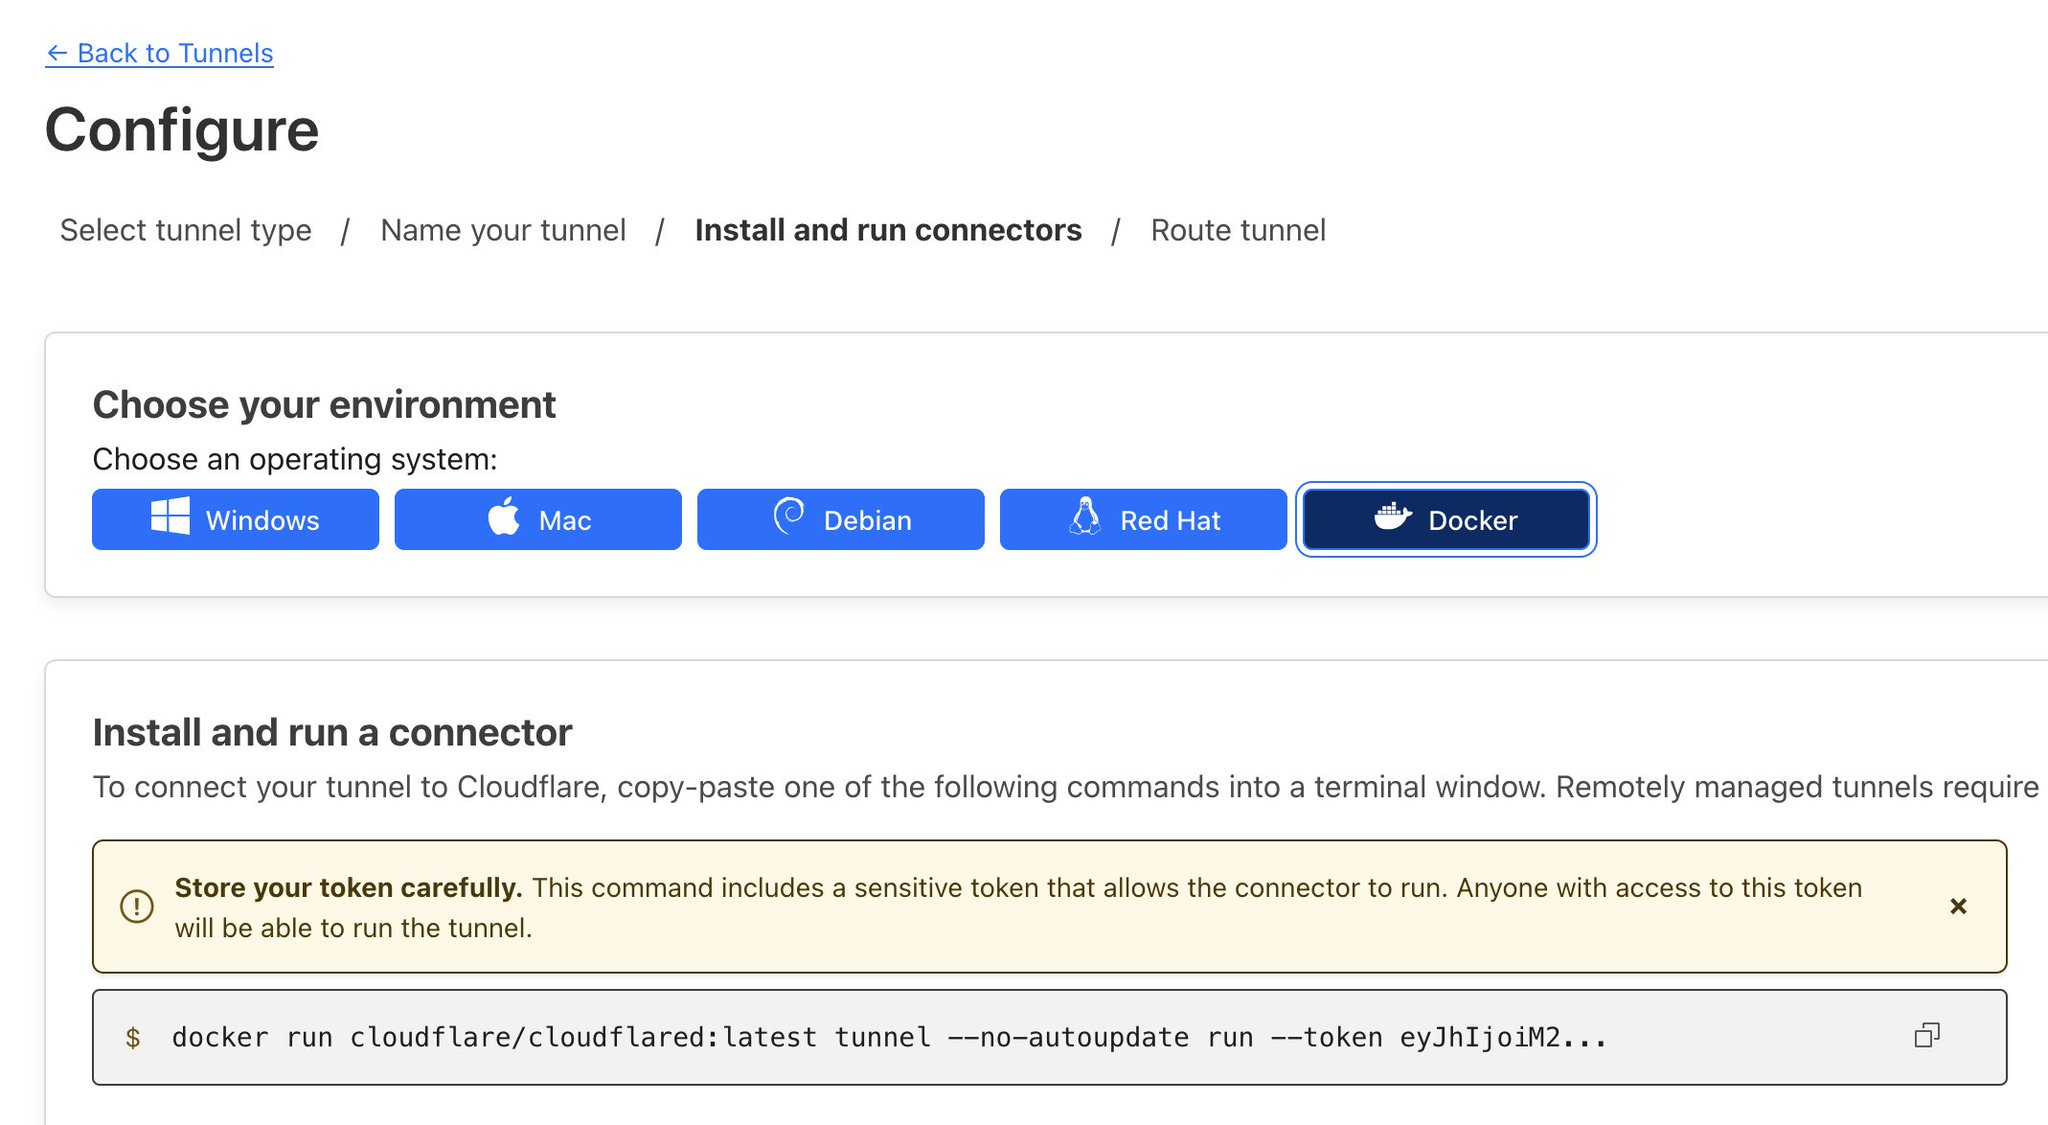
Use the following config to create the application, an replace the token with the one provided.
version: '3'
services:
  cloudflared:
    image: cloudflare/cloudflared:latest
    command: tunnel --no-autoupdate run --"replace with your cloudflare token"

Once the application is running, the tunnel between QNAP and Cloudflare will appear as Healthy.
Create the application
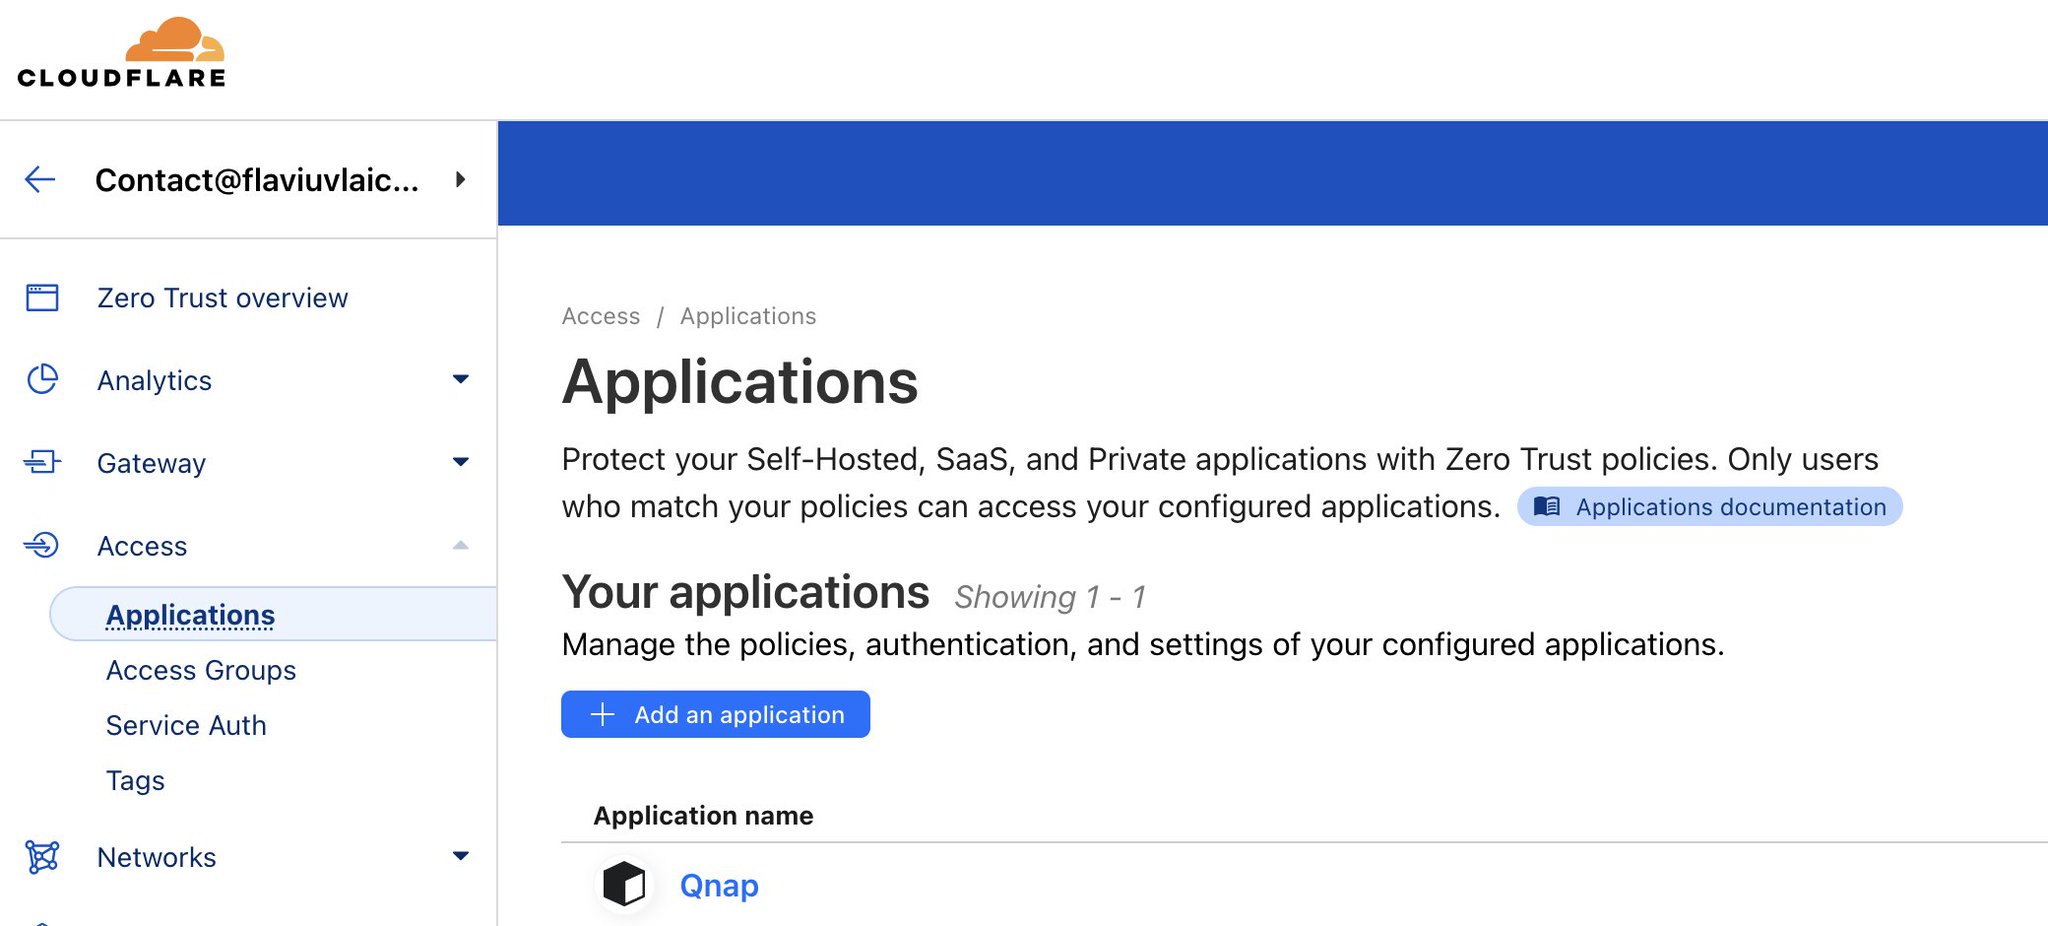
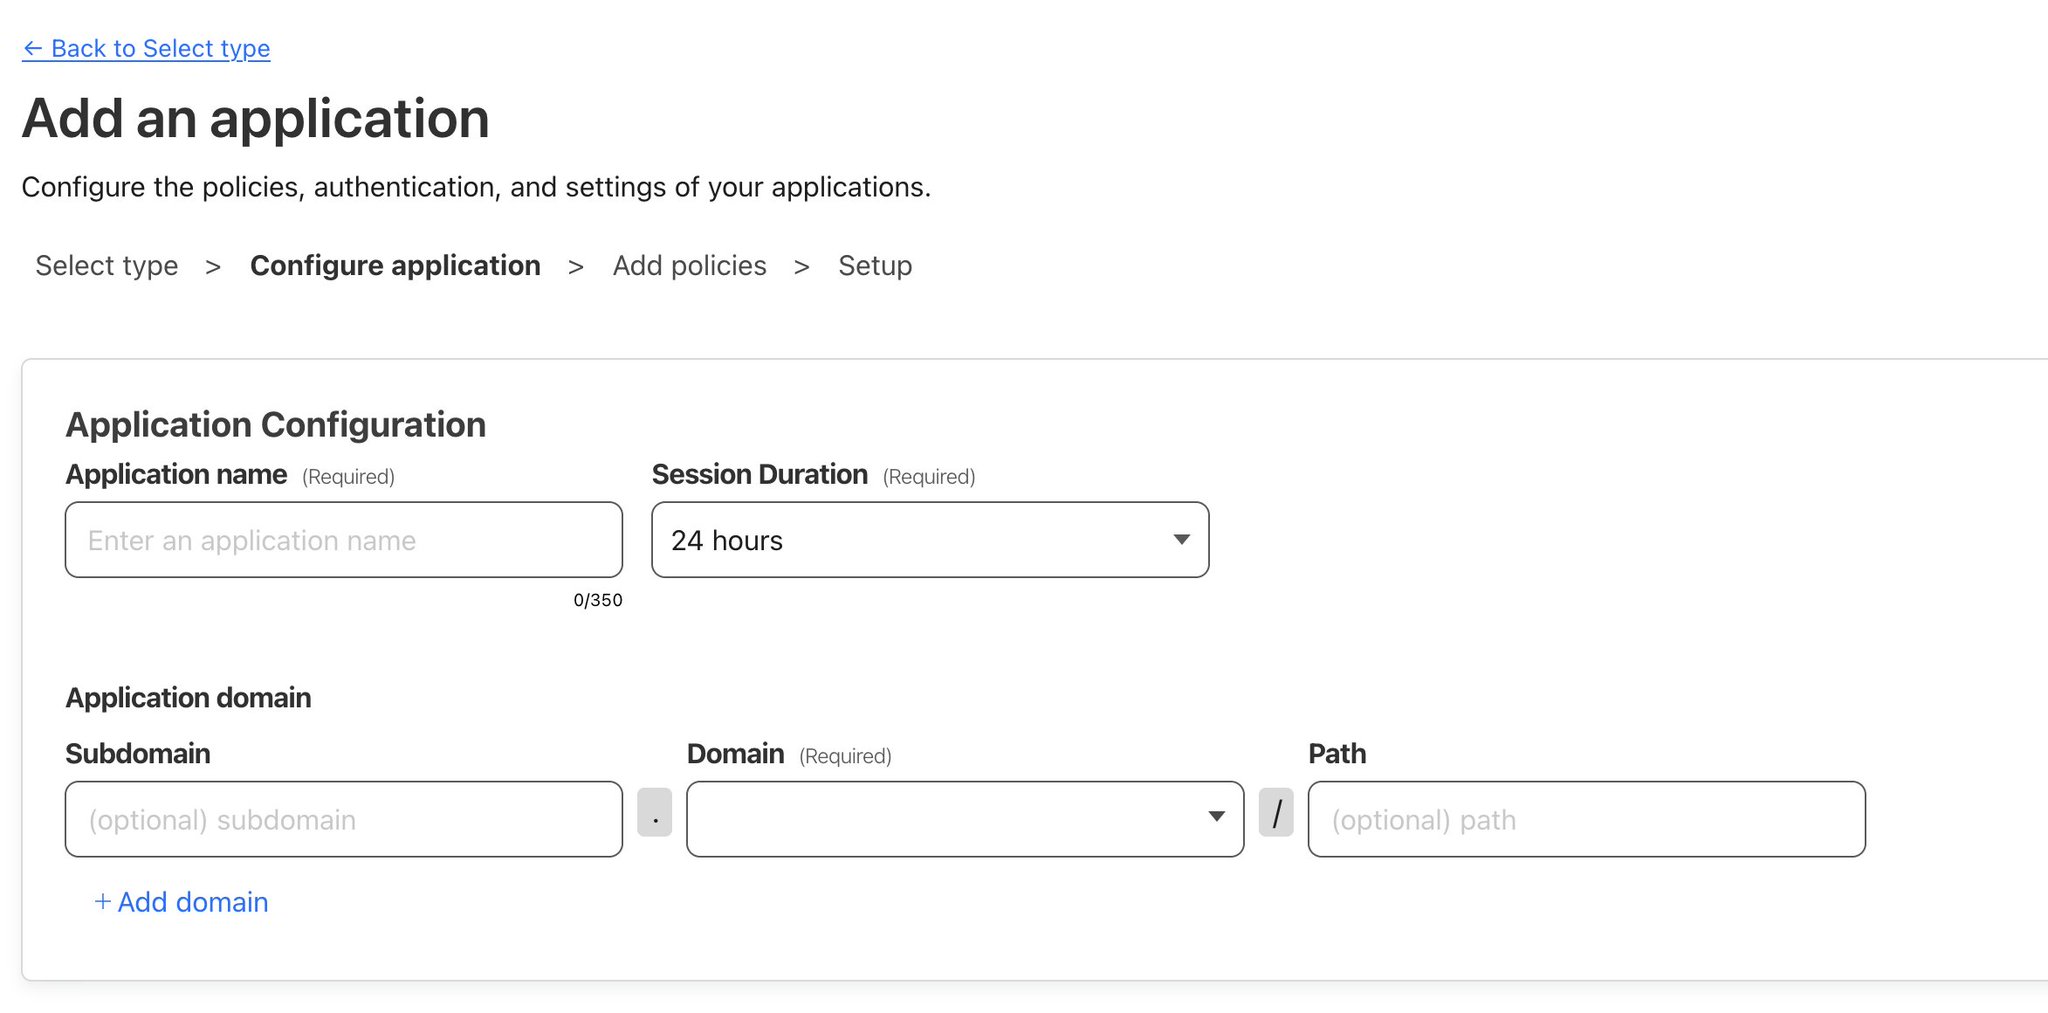
Add an application for a self hosted service.
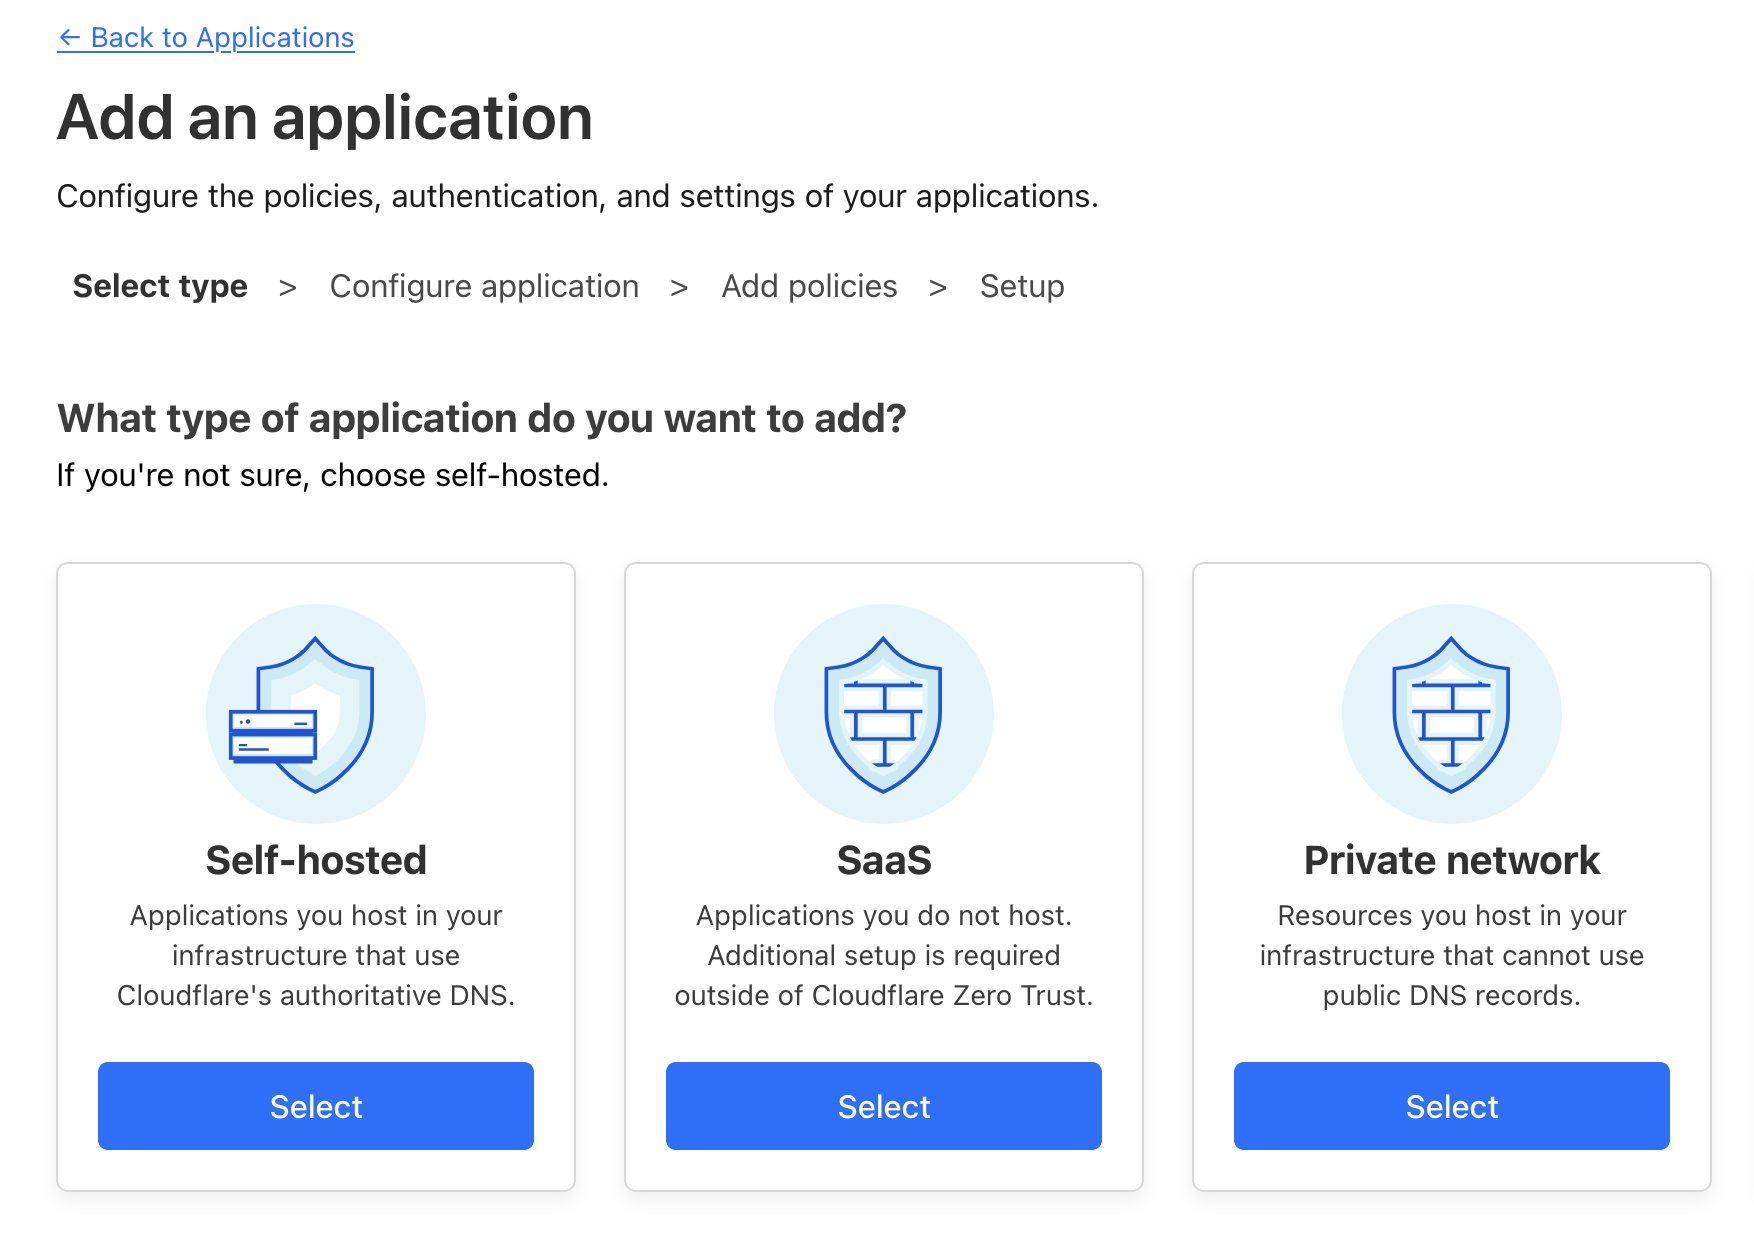
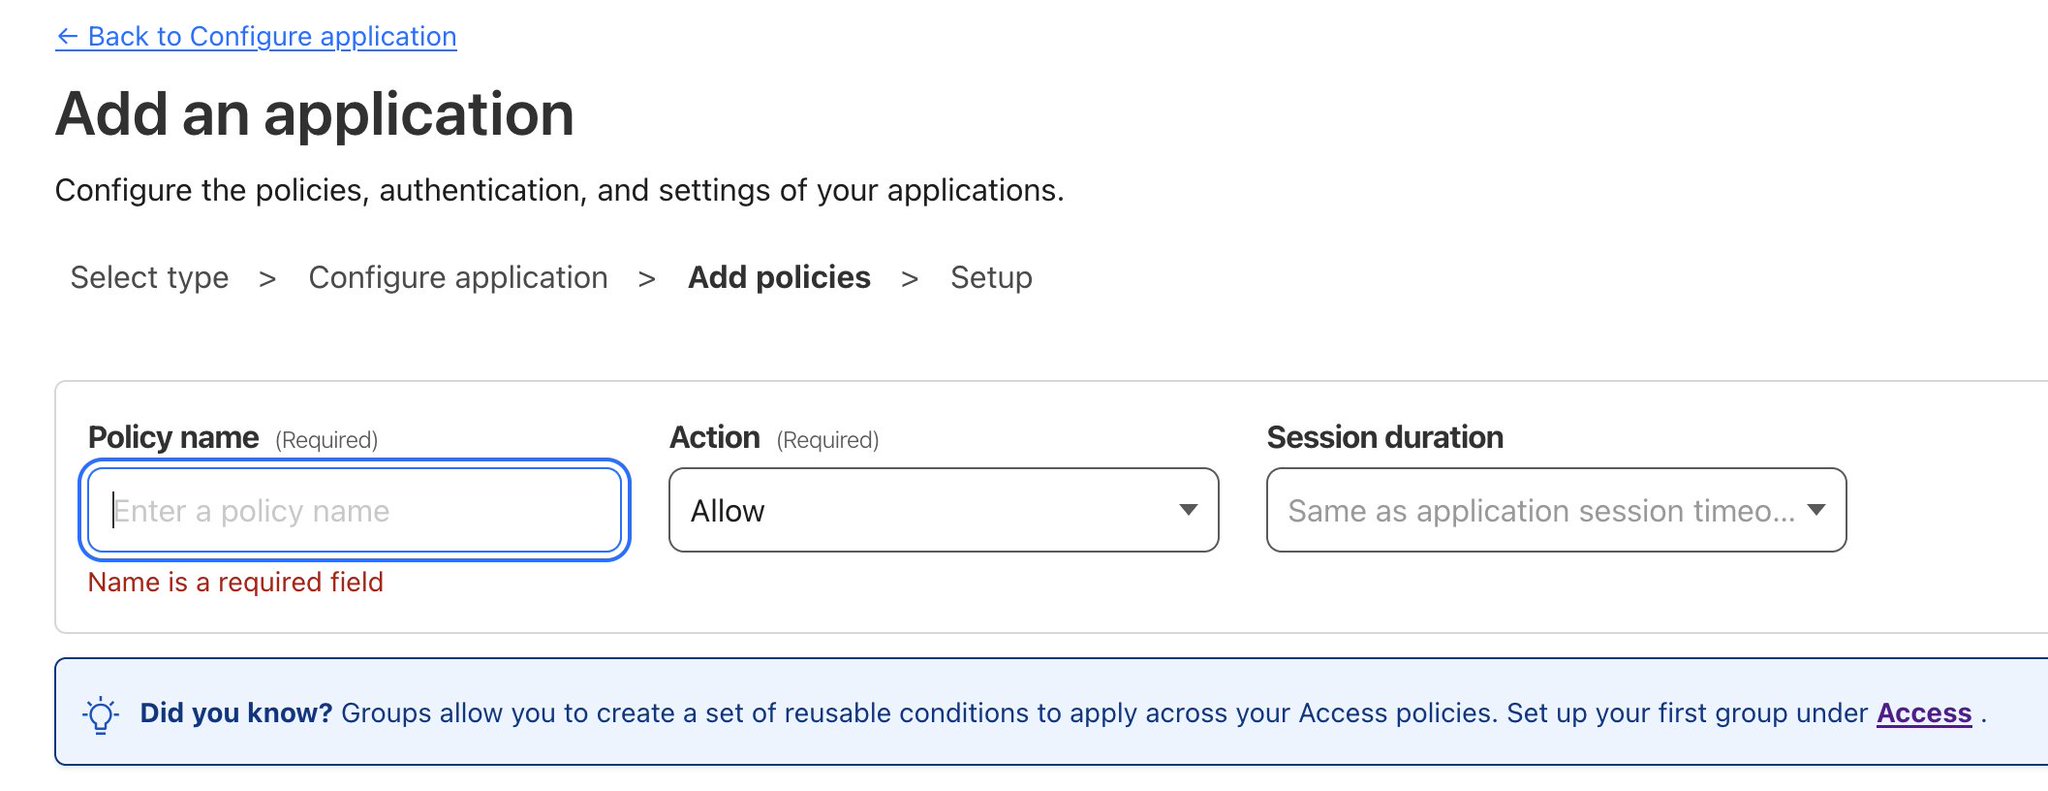
By creating a policy, different scenarios can be applied to control how the domain name can be accessed. For example, you can allow access to the domain only from a specific IP range or limit access from a particular country. More on how the access policies work can be found here: https://developers.cloudflare.com/cloudflare-one/policies/access/
Configure SSL/TLS for your domain
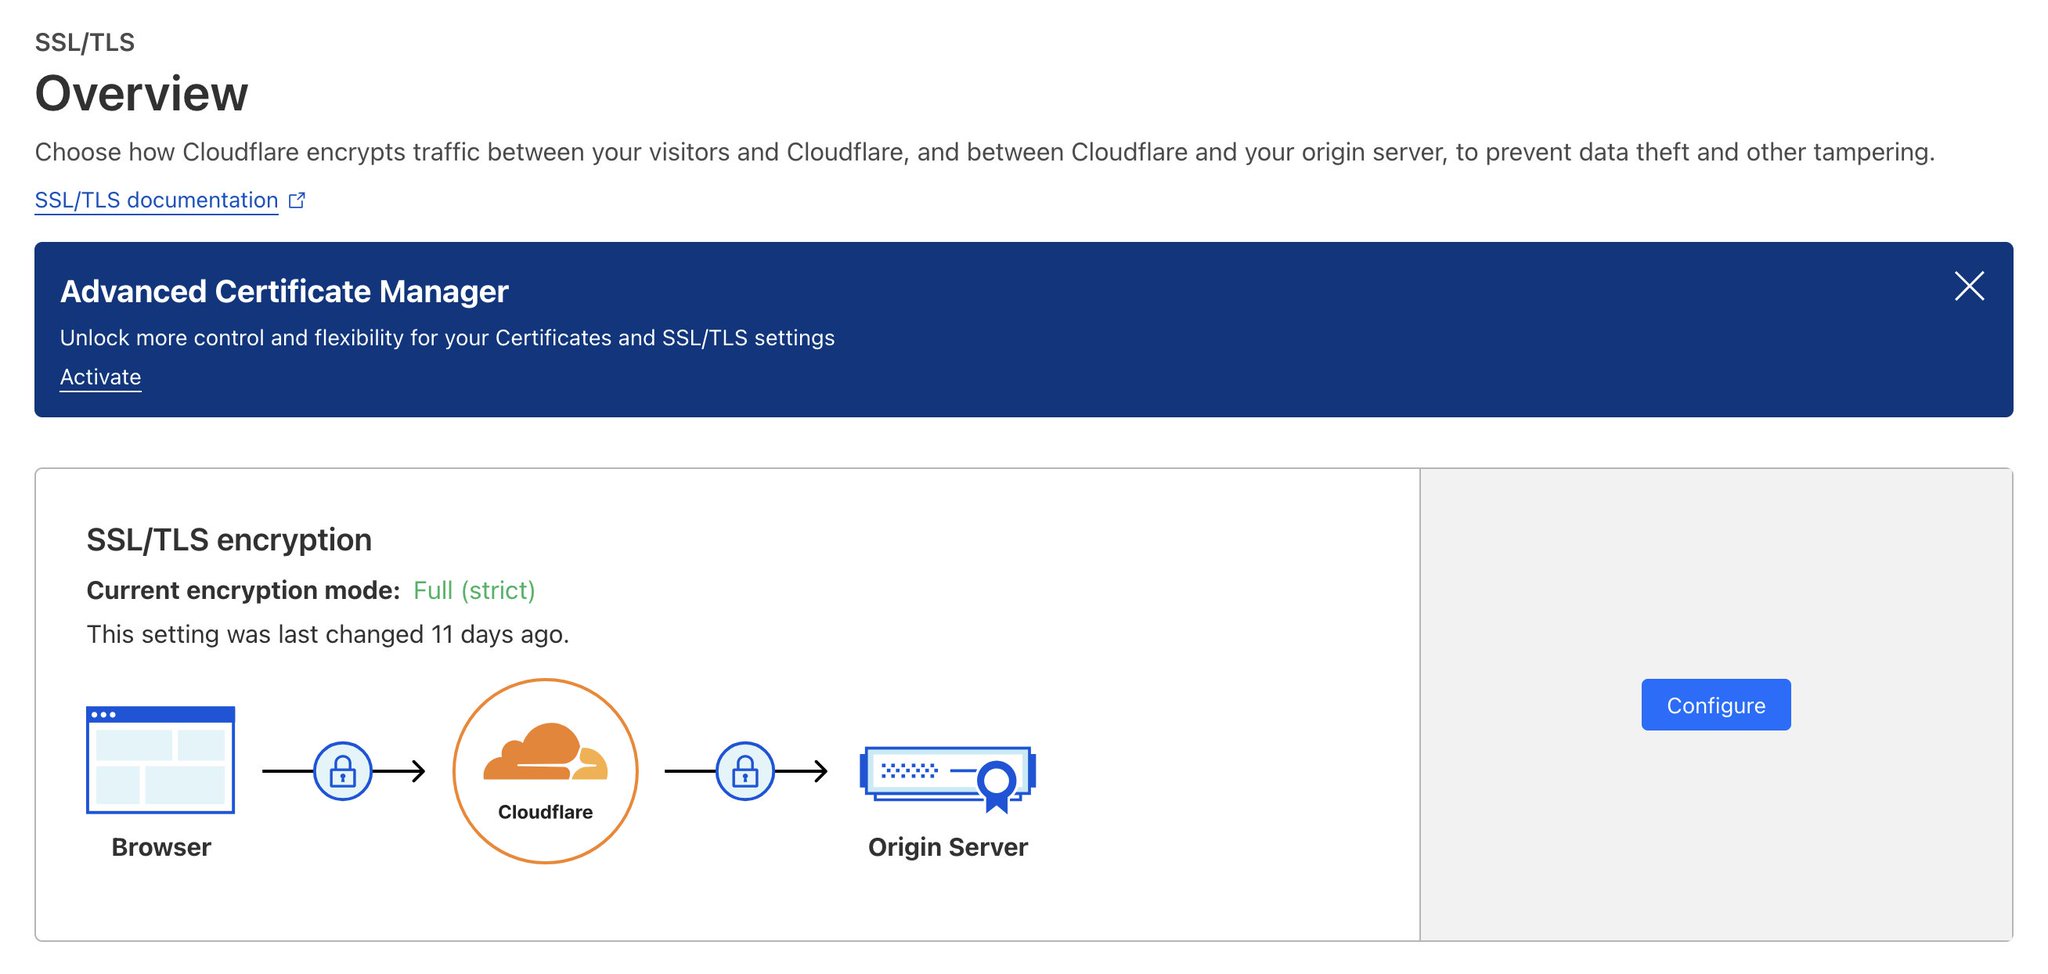
Full (Strict) - Enable end-to-end encryption and enforce validation on origin certificates. Use Cloudflare’s Origin CA to generate certificates for yourorigin, in this case, for the QNAP.
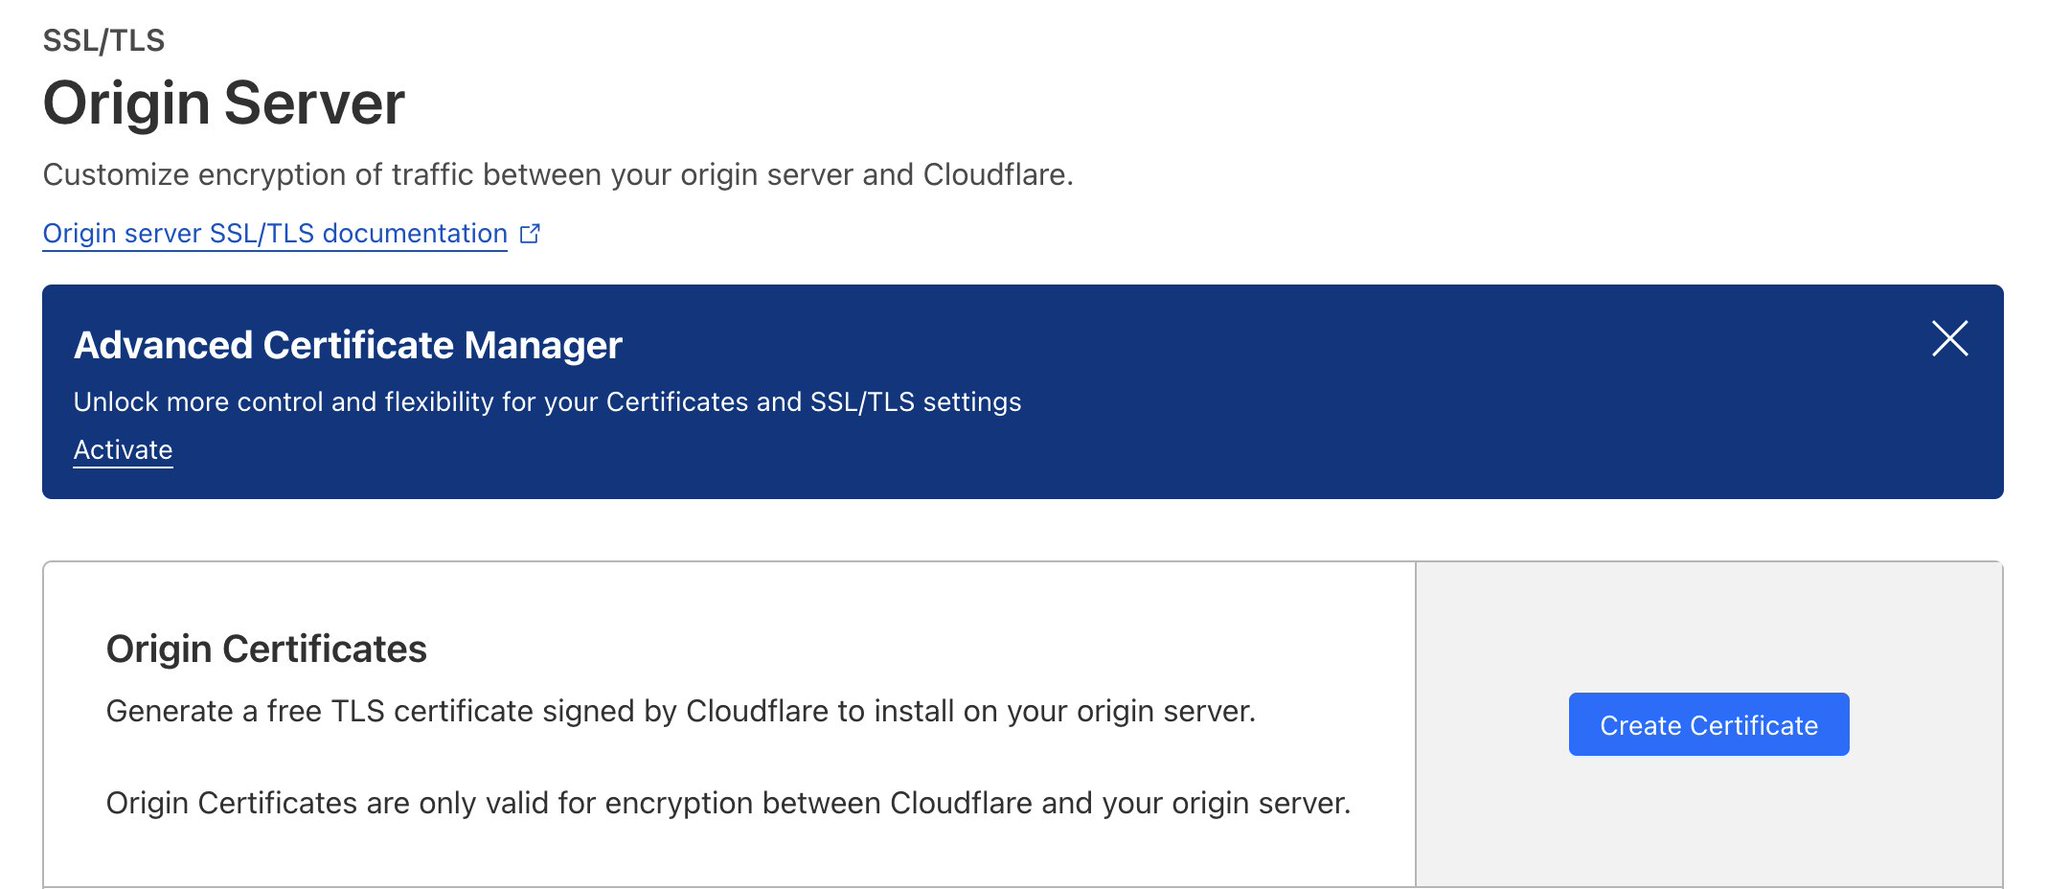
Save the generated certificate and key and replace them in QNAP

After importing / replacing the certificate, you will see a status message that the imported certificate is being used. Download the certificate and key that are used, and generate a Custom Root Certificate with the following command in Linux. Before running the command, replace example.com with your domain name.
openssl req -x509 -new -nodes -key SSLprivatekey.key -sha256 -days 3650 -out RootCA_certificate.pem -subj "/C=US/ST=California/L=San Francisco/O=My Organization/OU=My Unit/CN=example.com" -addext "basicConstraints=critical,CA:TRUE"

If you don’t want to use SSL/TLS in Full (Strict) mode, there’s no need to use a custom root certificate. In this case, to ensure the Cloudflare Tunnel configured earlier works correctly, the “No TLS Verify” option should be turned off. This allows the tunnel to bypass strict certificate verification, making it easier to set up without custom root certificates, though it reduces the level of security.

You should now have secure public access on your QNAP using your own domain name.
